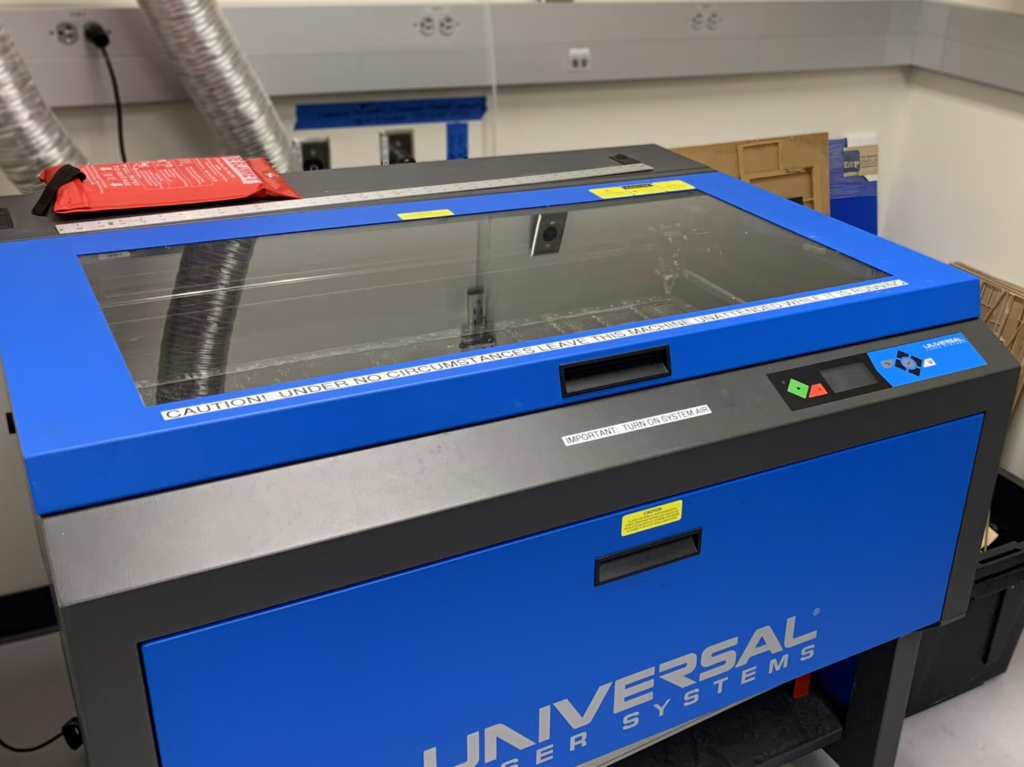
Z-axis Manual Override for Universal Laser
The z-axis of this machine is notoriously bad. Three leadscrews in plastic nuts, run off an unprotected serpentine timing belt, driven by a single Nema 23. What could go wrong?
Well, the z-height on ours is adjusted almost hourly and gets so out of whack the bed eventually refuses to move. So, once a semester it needs to be taken apart and leveled.
PROBLEM: The bed is currently in its lowest position, and I need to remove and re-synchronize the belt that’s underneath the bed. But I can’t raise the bed because the belt is out of sync. So we’re in a predicament.
Luckily the leadscrews have smooth ends, so I might be able to mount a knob to turn the leadscrews and thereby raise the bed enough to fix the belts.
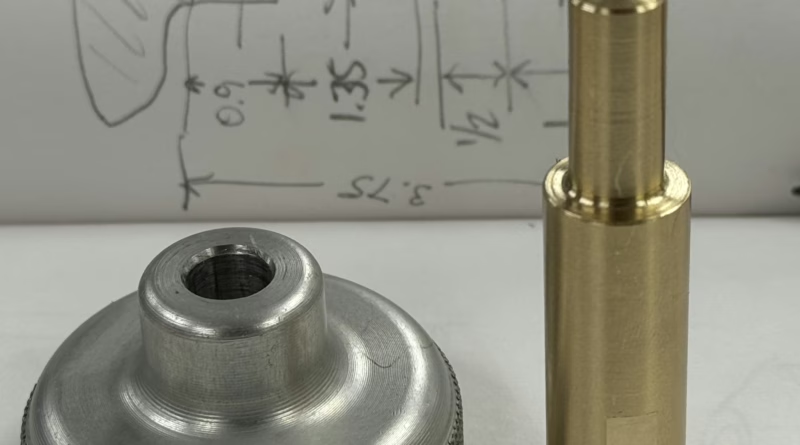
PROPOSED SOLUTION: Extend the leadscrew through the sheetmetal frame, and put the knob on top.
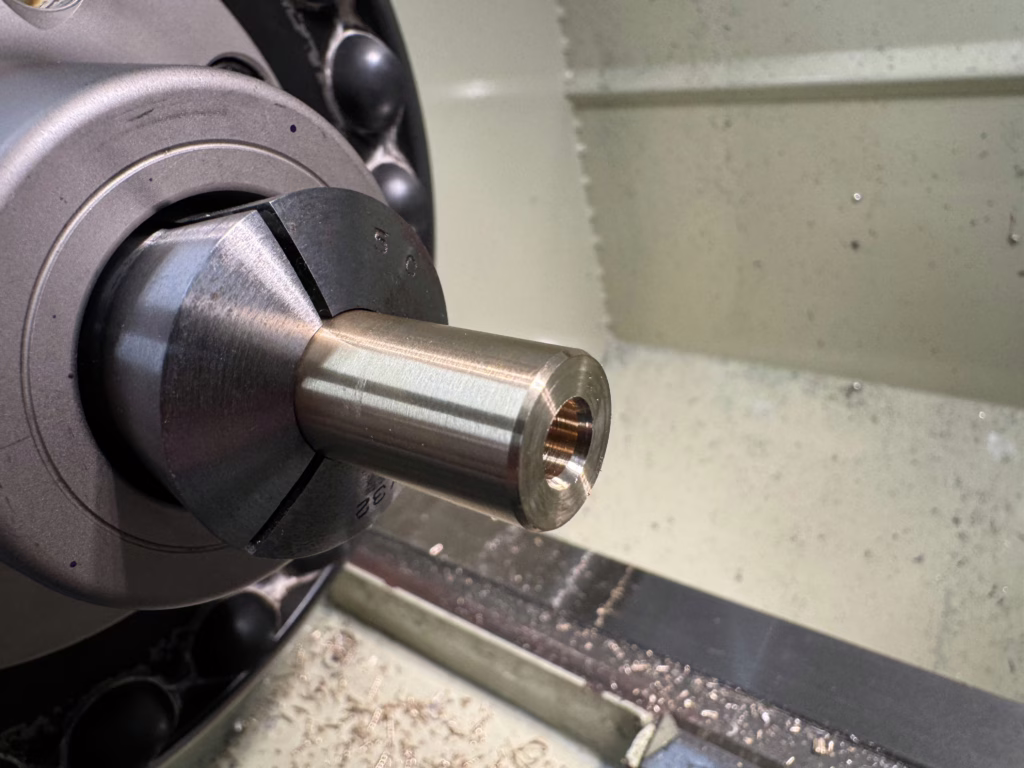
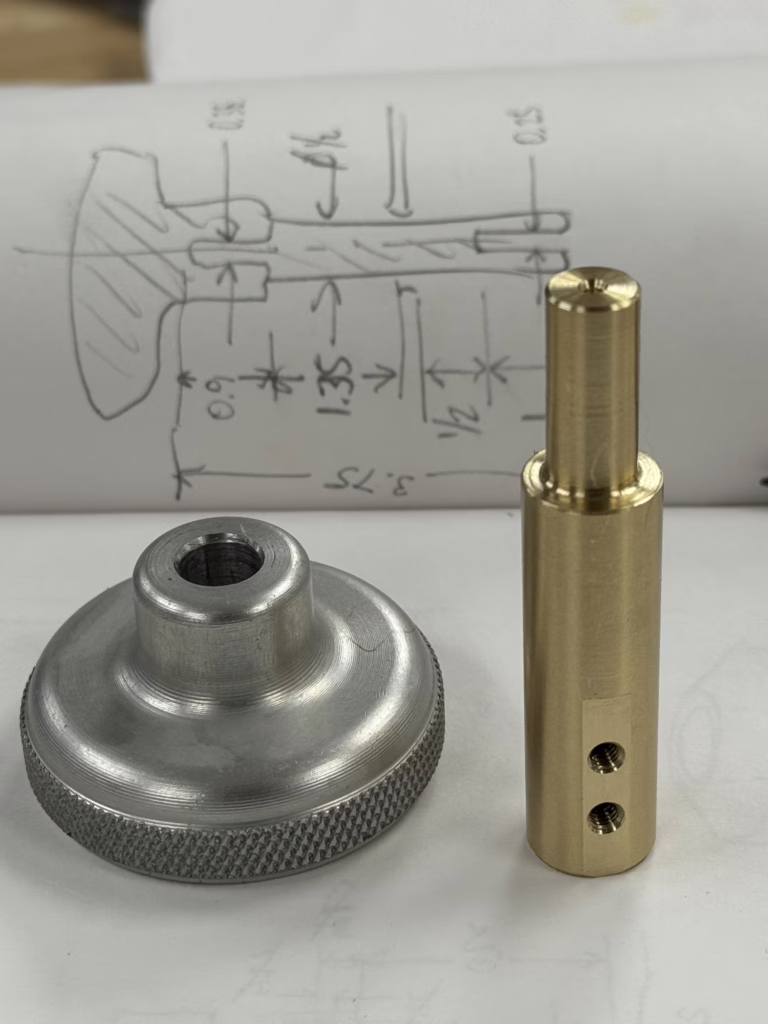
I found an appropriate knob in a junk bin, take some rough measurements, and start with a 5/8” piece of brass round bar. I turn down a section to fit inside the knob, part-off and drill a hole for the leadscrew in the other side. Then it’s over to the mill.
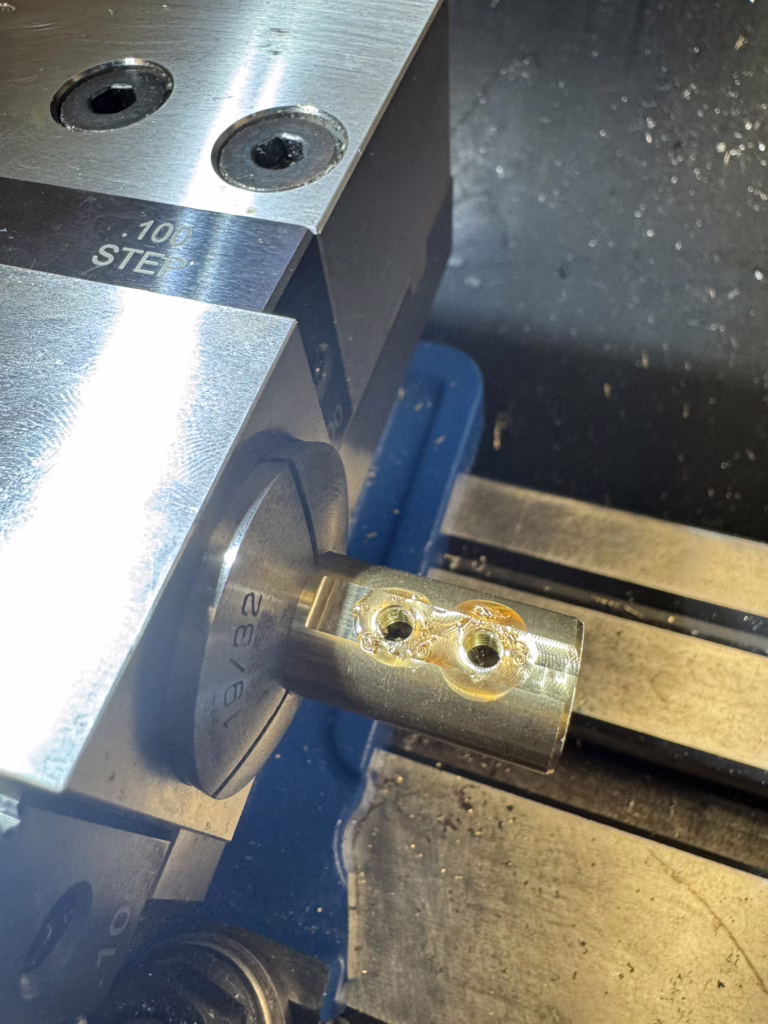
Turning all three leadscrews simultaneously actually requires a lot of torque so I add four grub screws to the leadscrew side, and after the knob gets epoxied on I’ll drill and place a slotted spring pin through the handle.
Here’s the finished adapter. Before I can test fit it, I need to drill an access hole in the machine. And I’m fairly certain at this point that I won’t be able to assemble it with the knob attached, this turns out to be untrue. There will be plenty of room.
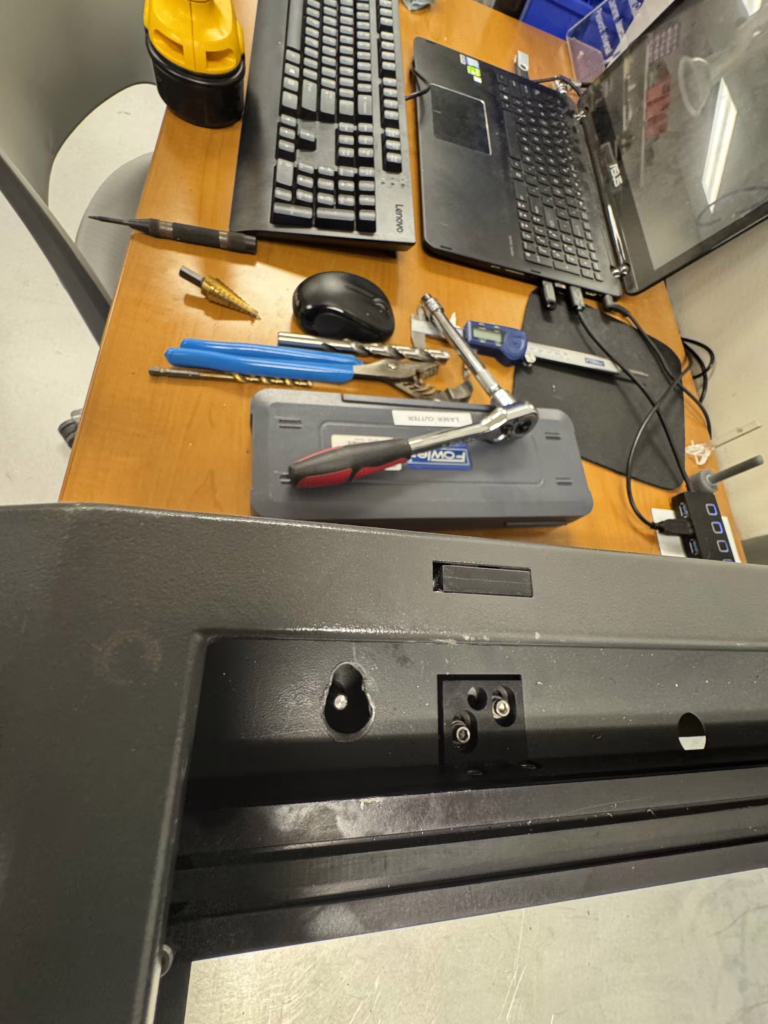
Drilling a gnarly hole with the wrong tools and not a lot of space in a $50k machine was probably the third sketchiest part of my week. The end of the leadscrew is directly under where I have to drill, so I go in at an angle then follow up with a file. I placed a strong neodymium magnet under the hole to catch any metal debris.
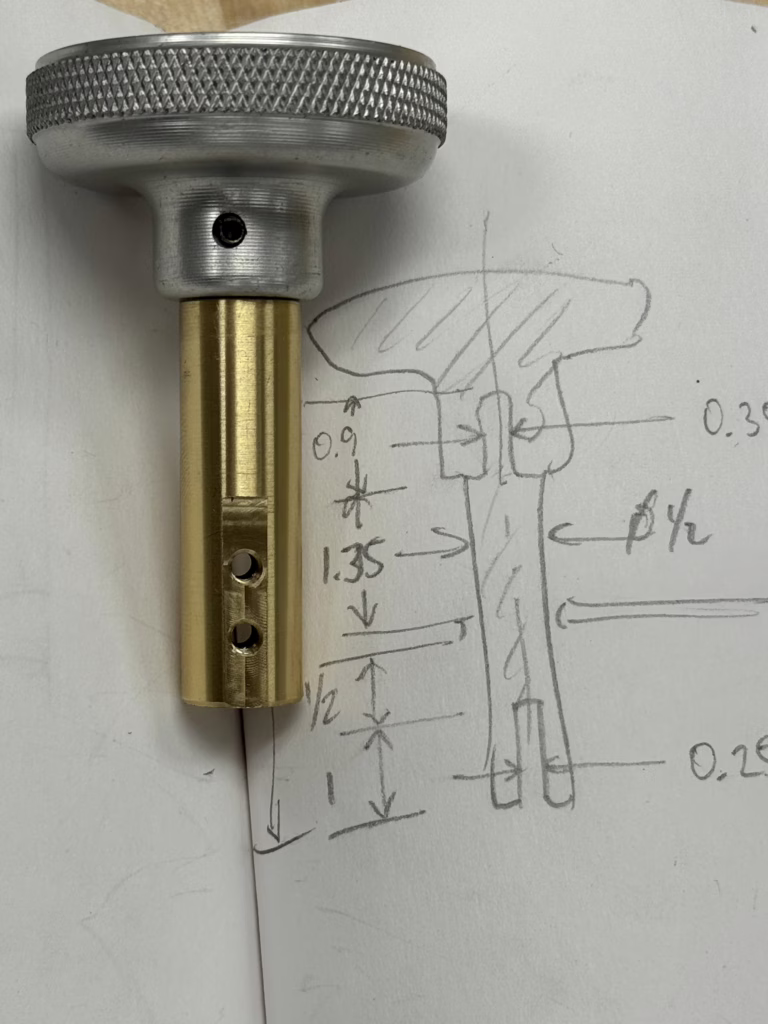
At this point I try to press the knob on but the hole is sh*t, and without a three-jaw chuck in the lathe I need to remove more material from my part. Once I get a slip fit, I epoxy the knob in place, and add a spring pin for mechanical integrity.
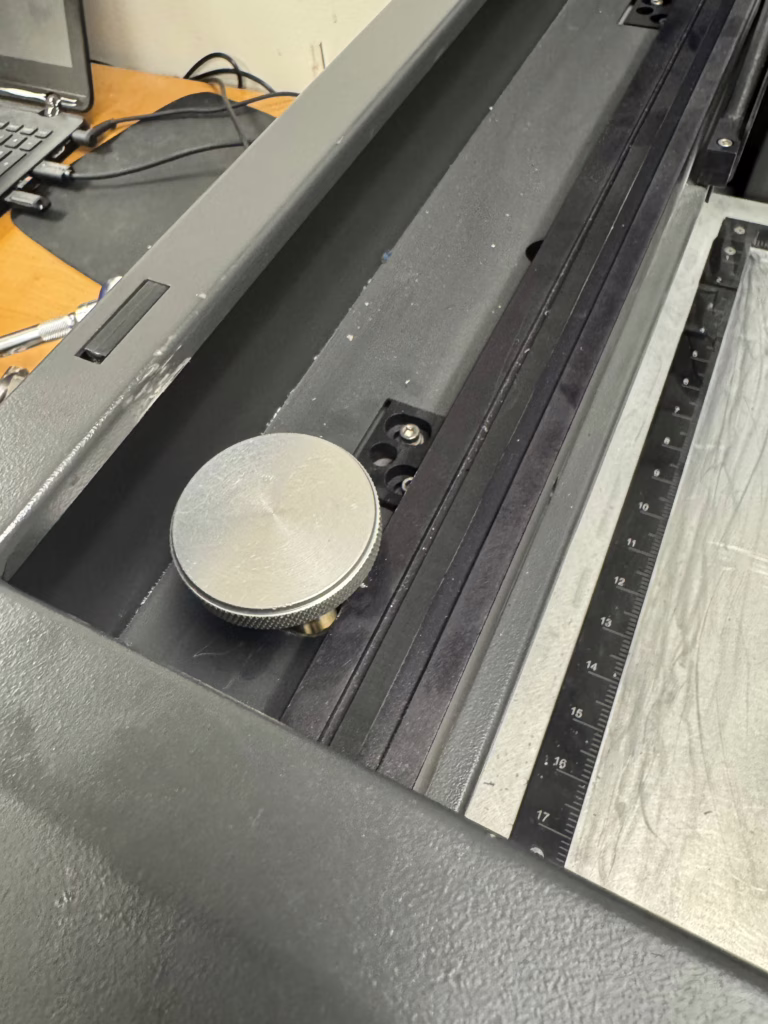
Turns out I could’ve made this thing almost an inch longer. If you’re following along at home, make the extender >4.25in. The knob hits the y-axis rail when full seated so it’ll be raised some. I should’ve remade it, but we’re already here.
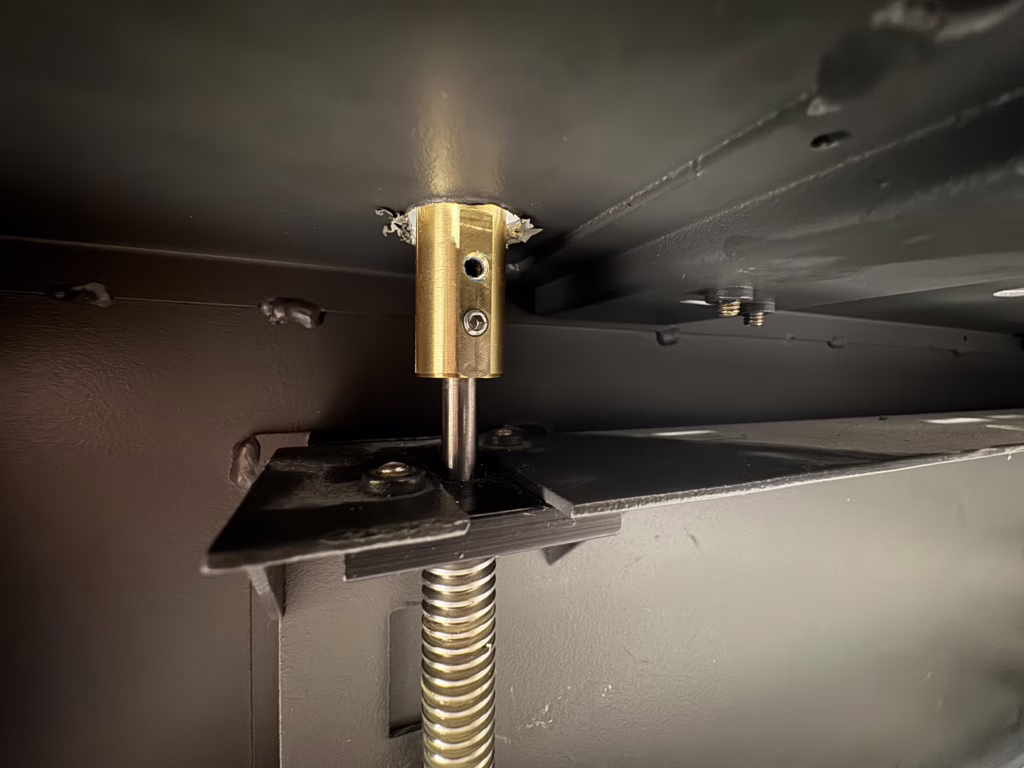
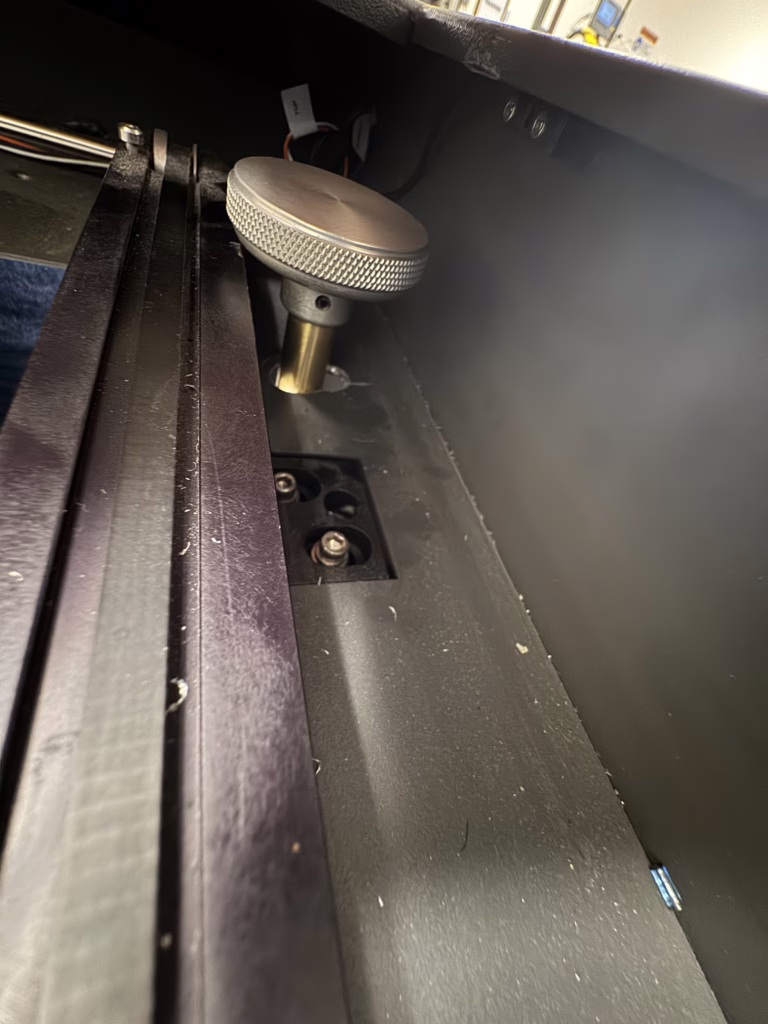
Side view with little vertical clearance.
Tons of clearance from the top, the part just drops in!
Alright, back to laser cutting!!
OUTCOME: While it won’t eliminate the need for maintenance, it will make it quicker and easier. While this can over torque the stepper motor and skip steps to move, we’ll only use it in case of emergencies with the laser turned off.
Thank you for reading,